
Written by Dawn Hammon and published on https://www.doityourself.com/
Trees are always welcome in a home landscape, but when a tree becomes diseased or severely damaged, sometimes removal is the only option. Due to the high risk of injury and property damage, tree removal is not a job to take lightly. While you can safely remove small trees yourself, for large ones, it’s best to call in a pro. Professional tree removal services have the skills and equipment necessary to remove even large, badly decayed trees with minimal risk.
Tree removal is normally a last resort for tree care companies, but it is sometimes an unavoidable part of homeownership. While you work hard to keep your trees happy and healthy, there are certain situations where the only alternative is to remove a tree (or even a few). Tree removal is ultimately about removing a hazard or potential hazard and protecting your home, yard, and loved ones.
Table of Contents
Proper Tree Removal Techniques

Although sad, tree removal is sometimes necessary to protect land or buildings. Dying or dead trees need to be removed for health and safety reasons. The process can be hazardous, however. Here are the crucial steps to follow for a successful tree removal.
Step 1 – Scan the Site
First and foremost, check to make sure there are no obstacles in the immediate area. Clear anything nearby, and pay particular attention to any structures or vehicles to make absolutely sure they won’t be in the fall line, or even close to it.
Step 2 – Inspect the Lean
Next you want to observe the tree to see which way it naturally leans. This will tell you which way it will fall best.
Step 3 – Plan Your Escape
Set up two escape routes that lead away from the expected fall line.
Step 4 – Remove Higher Branches (Optional)
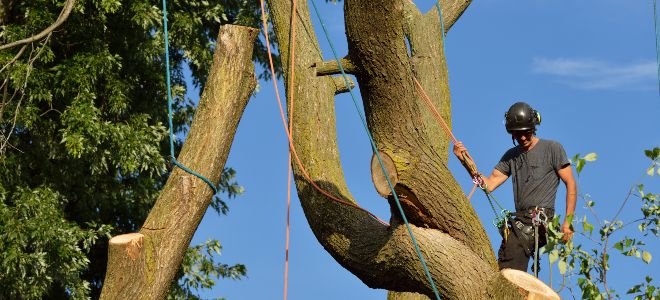
If you’re removing a large tree, especially one near any structures, you may want to take down the higher branches in stages. Secure any large sections with rope so you can control how they fall—make sure the ropes you attach support the branches before you saw them off.
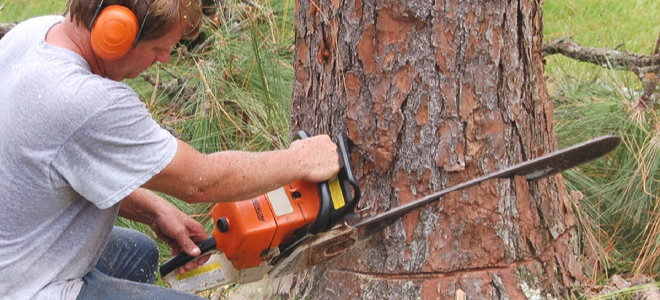
Step 5 – Make Initial Cut
Although you might not love it, it’s time to make the first cut to the trunk. Cut a 45-70 degree V shape. This should be done about 1/4th of the tree’s diameter in depth.
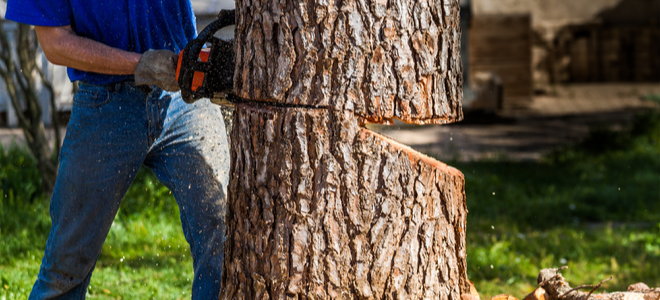
Step 6 – Make the Backcut
Safety Note: This is the step that will cause the tree to fall. Be ready to yell “timber” and make sure no one is in the fall line before you make this cut.
Make a backcut on the opposite side about two inches higher than the hinge part of the undercut. The purpose of the backcut is to release the stress on the backside of the tree, which allows it to fall in the direction of your V cut.
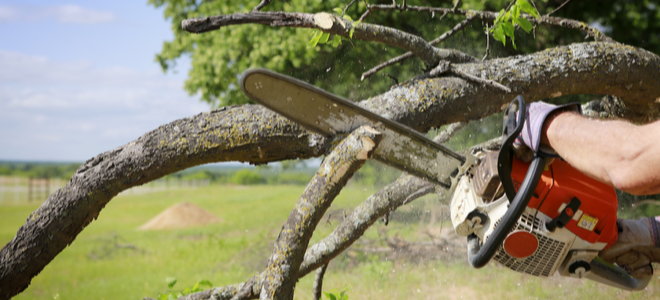
Step 7 – Remove Debris
Remove the branches and stump to complete the tree removal.
A Few Don’ts in Tree Removal
Never make the backcut lower than the undercut, as you would be reversing the roles of the cuts in the tree removal process, causing the tree to fall the opposite way from the one you intended.
Never cut all the way through the tree—you’ll risk losing control of the timing, and the direction it comes down.
Original post here https://www.doityourself.com/stry/proper-tree-removal-techniques/.